Related Articles
This is officially my first blog post in the series that I plan to write around my first international trip to the USA a few weeks ago. For the unaware, I was in Chicago to attend a conference followed by a mini vacation in New York. And as always, I plan to document my entire trip as blog posts
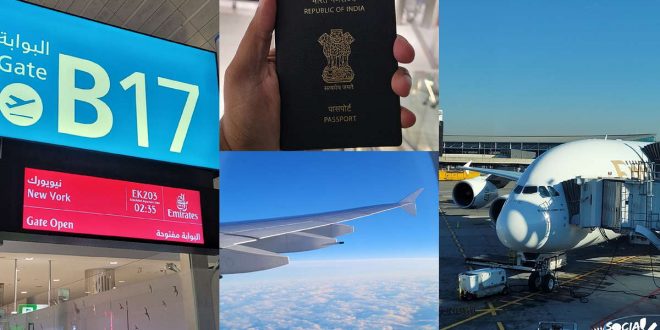
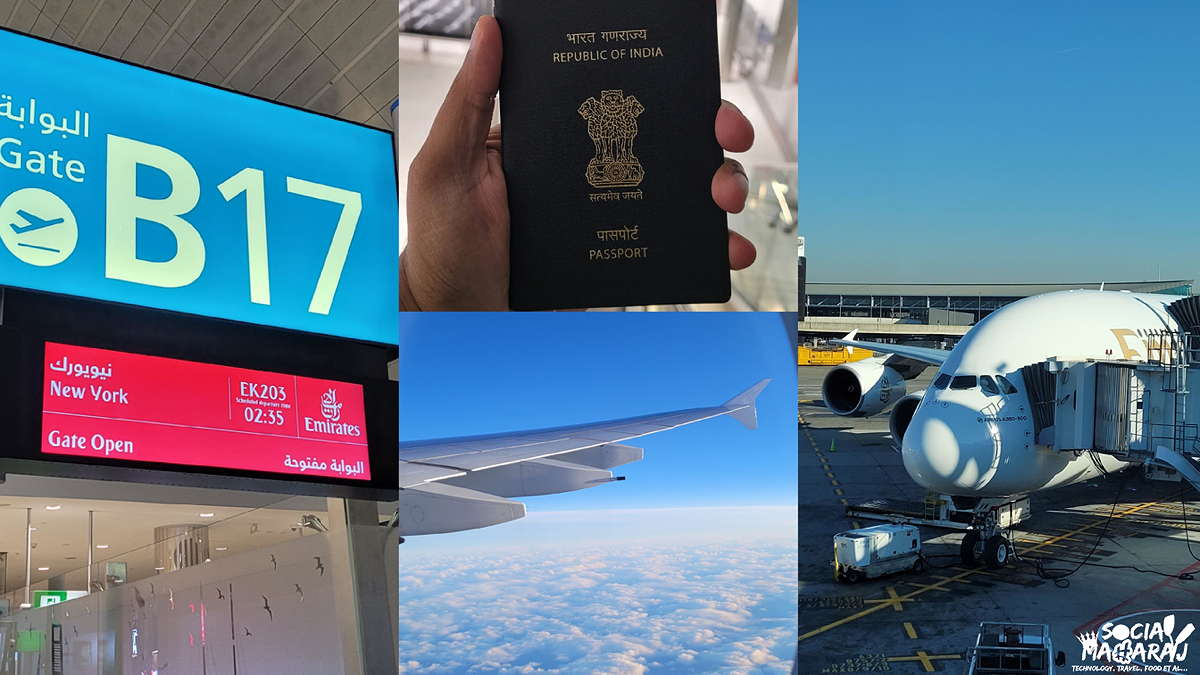
In this very first blog post, I’m going to share my experience of taking my first international flight from India (Hyderabad). Many of you reading this might have taken an international flight in the past, but since this was my first time flying internationally, I thought to document it.
Guide For Your First International Trip From India
If you’ve never taken an international flight or are going to take one, then this blog post is for you. I’ll talk about all the documents you need, forex, what happens at the airport, immigration, transit, arriving at the destination airport, and everything else.
Documents You Need To Fly From India
Since this was my first international flight, I was unsure of what was needed to fly outside India. Yes, I’m a travel blogger and I know people who fly internationally every week to some new country, and I do know the process, but doing it yourself for the first time is different.
So as a first-timer, here are a few things you need for your first international trip based on my first-hand experience of flying international for the first time.
Passport
A passport is the first and most mandatory document that you must have. A passport is mandatory for getting a visa. Hence without a passport, you cannot fly internationally. I’m sure most of you reading this would have a passport. But if you don’t you can apply for a passport online and get one for yourself.
Visa
After a passport, the most important document is a Visa. It’s a document that allows you entry to another country. While there are a few countries that allow visa-free access, most of the countries require a visa for Indians. Each country has a variety of visa types and you need to get a visa based on your use case. You mostly need a visa for your first international trip depending on where you are going.
In my case, I was travelling to attend a conference in the US, and hence I needed a US business visa. The process of getting a visa for any country is available on the internet and I’d suggest doing a simple Google search to get started.
Flight ticket
You also need a flight ticket for your first international trip. Whether you purchase it directly from the airline or a 3rd party website, it’s the same except you might get some deals on 3rd party sites. Further, most airlines will ask for your passport details while booking the ticket, so keep them handy. I had used MakeMyTrip to book my tickets as I was getting more reward points for using my AMEX credit card.
One thing to note here is that, with MakeMyTrip, the booking confirmation may take anywhere from a few minutes to hours depending on the airline. In my case, it took nearly 45 minutes for confirmation of my Emirates booking and I was in a panic state since the amount was huge.
Travel Insurance
Many countries mandate travel insurance that covers some basic illnesses. Healthcare can be really expensive in foreign countries and hence having a travel insurance handy can help on your first international trip. In my case, I opted for the TATA AIG travel insurance that gave me decent cover along with cover for flight cancellations, lost luggage/passport, etc. Most of the time these travel insurances are valid only for the duration of the travel.
I strongly suggest reading the fine print as they have tricky clauses for claims. Luckily, I didn’t have a situation to file a claim. The price of this varies depending on the destination, duration, and coverage you opt for your trip.
Foreign Currency – Forex
When travelling internationally, you also need the currency of the country you’re travelling to. In my case it was USD. You can carry cash or use a Forex card, it’s your choice. I suggest carrying a mix of cash + card for your first international trip. Avoid exchanging cash at airports as the exchange rates are very high.
Cash
I booked around $200 in cash from BookMyForex and got the cash delivered home. They need a copy of your air ticket, visa, and passport. The process is fairly simple. Visit the website, create an account, choose the currency, and provide the amount. Upload the documents like passport, visa, and flight ticket. Pay the amount online and then either go to the office to collect it or get it home delivered. Note that you can carry only a certain amount of foreign cash.
Forex Card
This is by far the easiest way to handle foreign currency. You can use your regular debit, or credit card internationally, but all of them will attract additional charges in the form of forex markup (1-4%) and some currency conversion fee. So every transaction you make internationally, you’ll be paying extra in fees.
To avoid that, you can opt for a zero markup forex card. After doing my preliminary research, I opted for the Niyo Global debit card offered by Equitas Bank. The application process was simple, just download the app, request a card, do the KYC and you’ll have a card delivered in a few days’ time. Since this was a multi-currency card, I used it like my regular debit card everywhere in the US and Dubai without having to do anything. I’ll share more details about the Niyo Debit Card in a separate blog post.
Mobile SIM/Roaming Pack
Being connected is absolutely important, more important when you’re traveling globally especially when it’s your first international trip. I was frankly very sceptical about this as I was aware of the high international roaming charges. I mainly needed data and Airtel’s 1 day plan for Rs 649 gave only 500mb data. They have other plans for longer durations which I felt was expensive.
I used the free WiFi at Dubai, JFK, and O’Hare airports for booking cabs, navigating, etc. And along with that, I got a local SIM card in the US. Don’t get the global SIM cards from the airport as they are expensive, instead buy a local SIM card from the city you’re in. I bought a T-Mobile prepaid SIM for $72 with unlimited 5G data for a month. I’ll again have a detailed blog post on this.
Offline Maps
A lot of people may miss out on this, but having an offline map of the city you’re visiting is a boon. Even when I travel in India, I download offline maps because I might not have internet connectivity everywhere. For this trip I had offline maps for Chicago, New York, and Dubai already saved that helped me navigate even without the internet. Do check if Google Maps/Apple Maps work in the country you’re visiting. If not, download the app that you might need even before you travel.
At the Airport
Now you have all the documents in place and you’re all set to go on your first international trip. When you arrive at the airport, the process is fairly similar to how you fly domestically except for immigration. Immigration is an additional step that is required for international travel. This basically is the final check and approval that you are going out of the country.
Most airports have a separate terminal for international departures, but Hyderabad doesn’t have one currently. It’s all in the same building. So you enter the terminal and head to the counter of the airline you booked your ticket with. Do the regular drill of checking in your luggage, getting your boarding pass, etc. Here also they’ll check your visa and passport.
Once this is done, you head to the emigration (also called passport/passenger control). In this zone, you’ll find a set of counters with emigration folks sitting with cameras and biometrics readers. Go to one of these counters, and they’ll check your passport, visa, and boarding pass. They might ask you some questions regarding the purpose of your visit. They’ll also take your photograph and sometimes even your fingerprints.
After all of this is done, they’ll put a departure stamp on your passport. This stamp basically indicates from which airport you’re exiting the country and on what date. While some countries are doing away with this stamp for exiting the country, India still has it. So make sure you check the passport for the stamp after they hand it over to you.
That’s it, after this, you’ll go through the regular security check head to your boarding gates, and start your first international trip!
Transit From Different Country
There might be situations in which your flight to the destination isn’t a direct flight. This happens especially when you’re flying a non-Indian airline. For example, if you take an Air India flight, chances are high that you’ll get a direct flight. But if you choose a foreign airline like Emirates, Etihad, etc. you will be hopping from a different city. How does that work? Do you need a separate transit Visa as well?
Well, for most airports, you don’t need a transit visa as long as you’re not exiting the airport. If you do plan to exit the airport for any reason, you’ll need a transit visa or a tourist visa. In my case, I was flying Emirates, and all Emirates flights were via Dubai. I had a layover of around 3 hours which is a decent time. Do keep this in mind while booking your flight tickets as well. Because if you have a short layover duration and your first flight gets delayed, then you’ll have an issue.
I did get a Dubai 48-hour transit visa for my return leg of the trip as I had a long layover and I wanted to explore the city in that time. While I could have gotten a visa on arrival, I didn’t opt for it as that was expensive and not required as I was out only for a few hours.
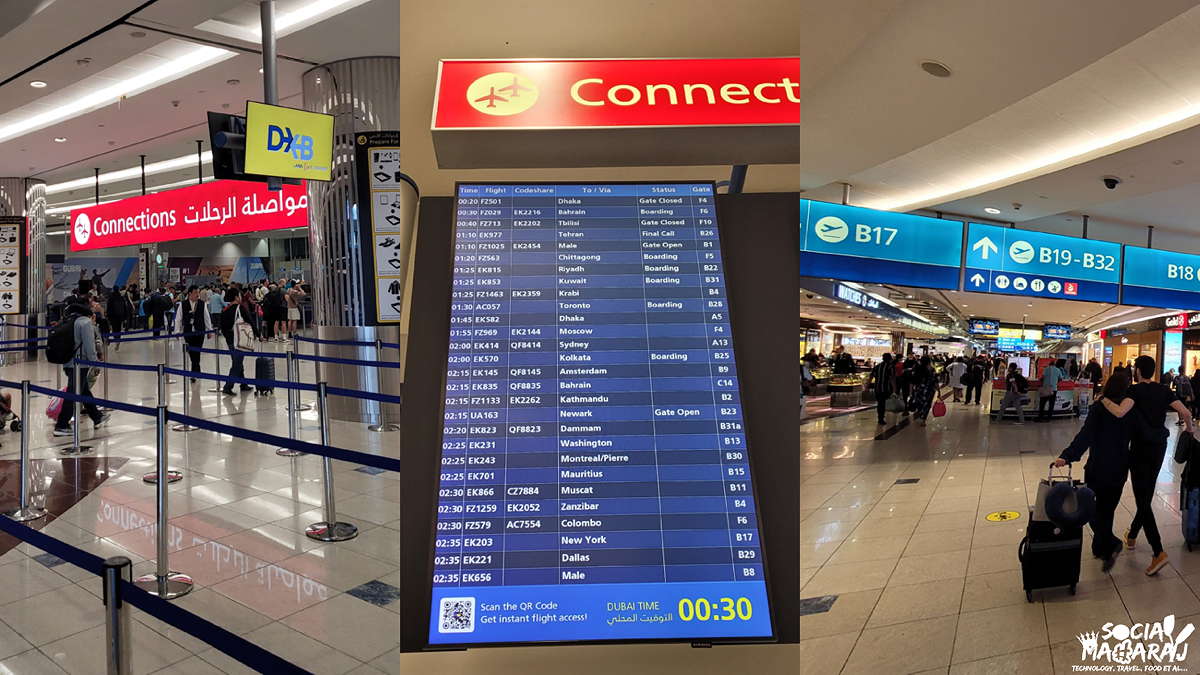
Once you exit the aircraft, you can follow the directions to the connecting flight area. At the are, you’ll again pass through security and your boarding pass, passport, and visa will be checked again here. After security, just head to the gate from where your connecting flight is supposed to take off.
In some cases (like in mine), there might be additional checks. The USA border control has an additional security check before you board the aircraft in Dubai. Here they’ll open your cabin bag, check everything you have, and then allow you in.
After this is done, you’ll normally head to the connecting aircraft and fly to your final destination.
Upon Arrival At The Destination Country
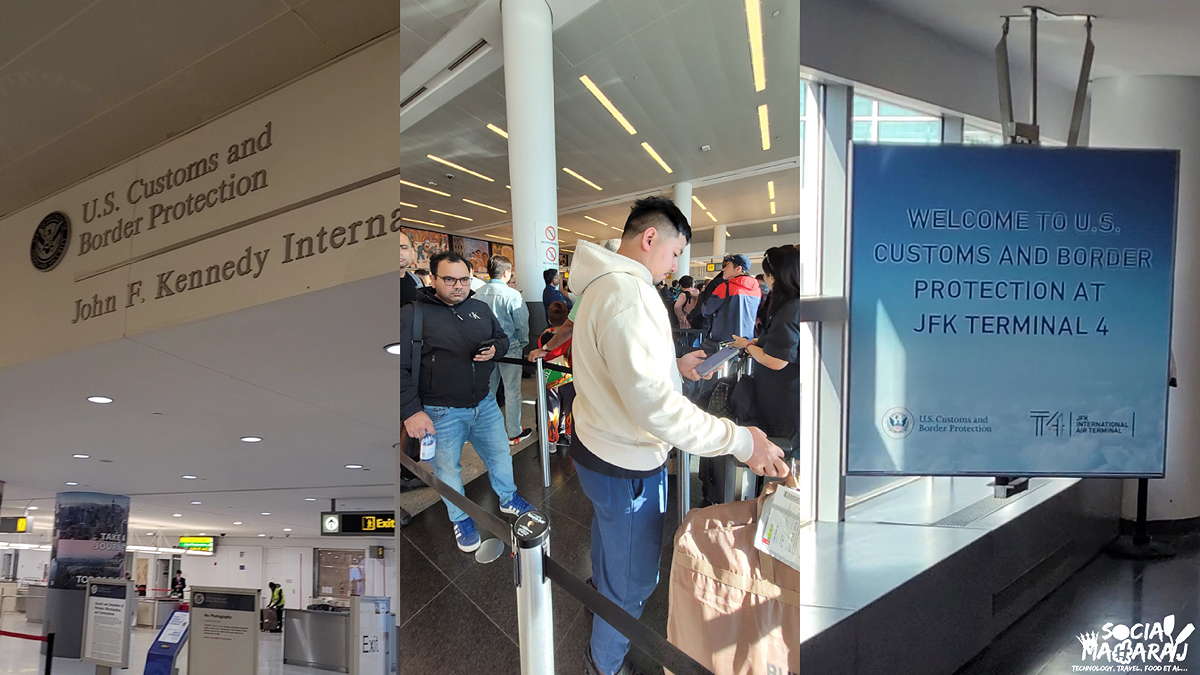
Congratulations on taking your first international trip, you have now landed in your destination country. After you land at your destination country, you’ll automatically be directed to immigration. Depending on the airport you’re landing in and the type of passport/visa, you might have different immigration counters depending on the type of Visa. For instance at JFK, New York, they have a separate counter for USA nationals, green card holders, diplomats, and regular Visa holders.
Just join the queue based on your visa type and wait for your turn. Please note that this time can be a few hours if not more, so if you are having a connecting flight, make sure to account for this time as well. Also, the arrival time matters because if you’re landing at a time when a lot of flights are coming in, you’ll have to wait longer at immigration.
When you reach the counter, an officer will check your passport, visa, and boarding pass. They will also ask you about the purpose of your trip, details of where you’ll stay, itinerary, return trip, cash, etc. The questions aren’t the same for everyone but these are the basic ones that were asked to me. Since my trip was sponsored, they asked for the sponsorship letter along with hotel booking confirmations. I had all these printed which I showed them.
They’ll also take your photo and fingerprints and stamp your passport with an Arrival stamp if they are satisfied. And once you get this stamp, you’re officially entitled to enter the country! I was so happy when I got that stamp and the officer said “Welcome to the United States, have a pleasant stay!”
That’s about it. You’re at your destination and have successfully completed your first international flight from India! Congratulations!
Happy Travels!
I know travelling internationally is not something that happens every day and the first time can be as stressful as it was for me. But I’m sure a lot of us dream of taking our first international flight someday, for me, it turned into reality a few weeks ago. And since my reason for blogging is to help people, I had to share my learnings from my first international trip.
In this post, I shared all the details that you will need to plan your first international trip. Right from the documents to forex and everything else. Further, I’ve also listed out the exact process that takes place at the departure and arrival airports. So if you or anyone you know is planning their first international trip, do share this blog post with them, I’m sure they’ll find this helpful.