Related Articles

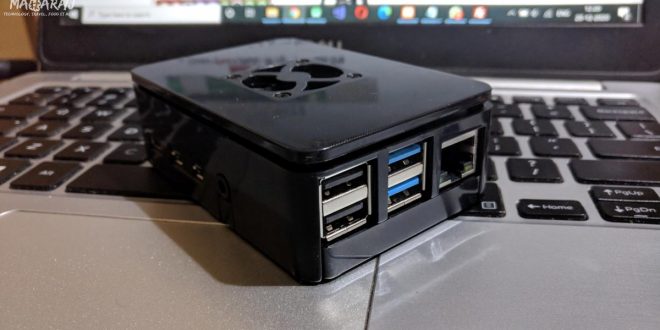
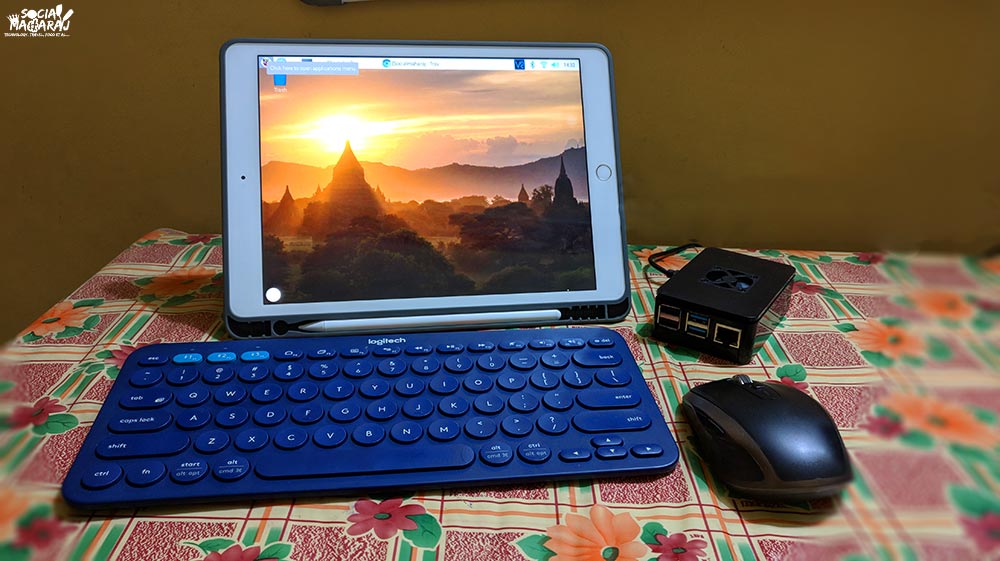
It’s close to a year since I bought my Raspberry Pi 4. And it has been one of my most cherished and valuable purchases. I have developed multiple projects on the Raspberry Pi 4 and trust me, it’s an amazing device to learn and create some cool Raspberry Pi projects. However, the main reason to get it was to make a Raspberry Pi NAS as that is the cheapest NAS option possible. In this blog post, I’ll talk about how you have to make a Raspberry Pi NAS.
Content is Gold for Content Creators
As content creators, the most valuable thing for us is our content. Be it images, videos, or texts. All the content creators will have some form or the other of a backup in place. For instance, whenever I go out to dine at a restaurant, I’ll easily have 50-60 photos along with some Full-HD videos. This would easily be close to a few hundred MBs if not more.
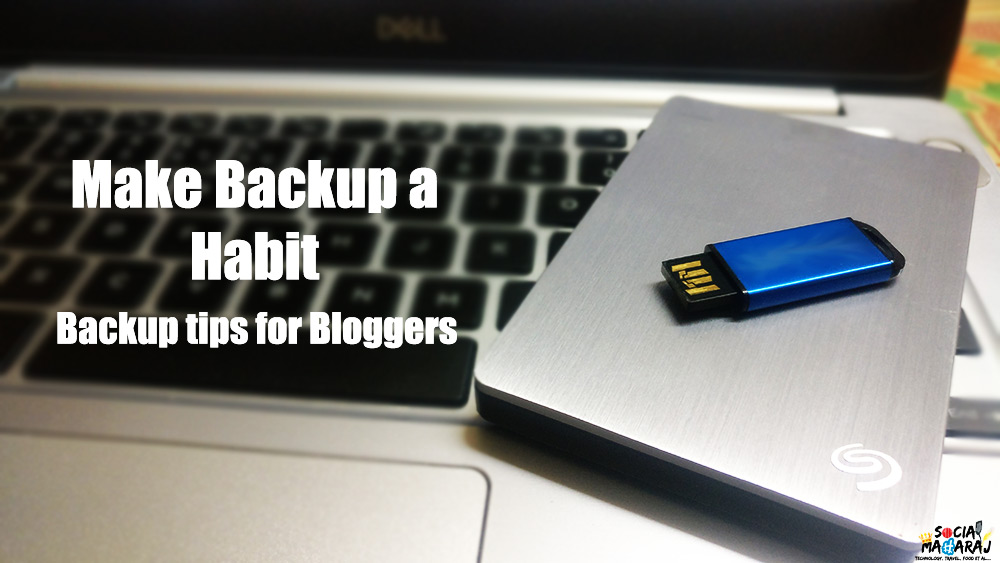
And then there are times when you want to dig into that backup and share some content especially images or videos. That’s tough if you have it attached to a computer since most of the sharing nowadays are done via a smartphone.
Moving images from a back, external hard disk to a smartphone is a daunting task and that’s why I wanted a solution where my content would reside at some location that I can access 24×7 from my PC, laptop, iPad, or my smartphone. And Network Attached Storage or NAS was the only option.
What is a Network Attached Storage?
While most of you would get an idea of what it is from the name itself, let me tell you what it is. Network Attached Storage or NAS is a device that houses traditional hard disks and adds networking and sharing capability to it. So it’s a big box in which you can connect regular desktop/laptop hard disks. The box comes with a LAN port to which you can connect a cable from your router. With that your hard disks are now available on the local network and you can access them from any device with the network.
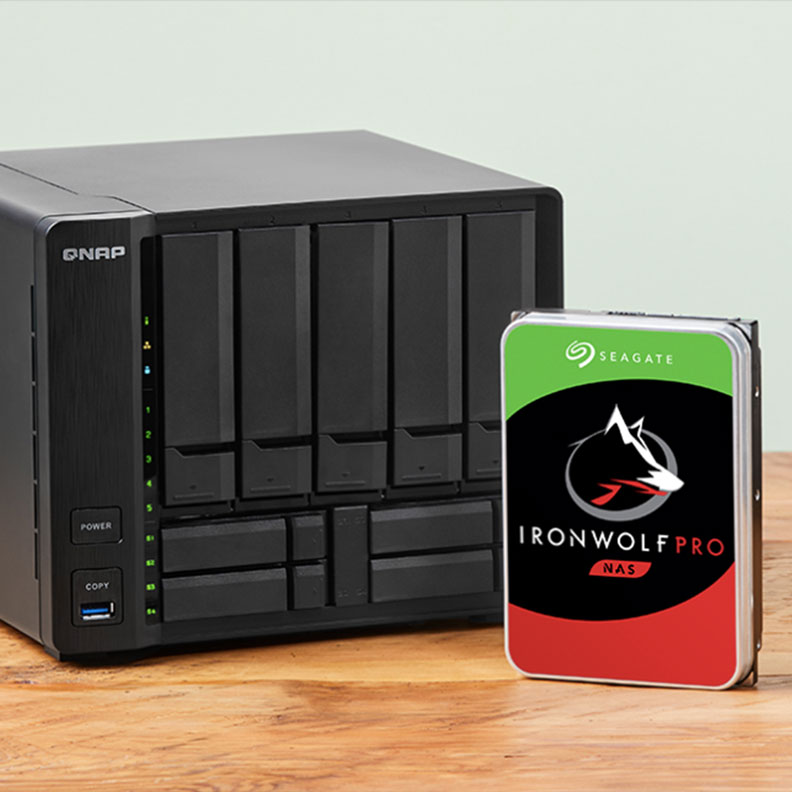
Now, most of the off-the-shelf NAS solutions are costly. The minimum that I could find cost at least Rs 10,000 which was expensive. I was looking for a workaround to have the cheapest NAS possible. The answer was to make a Raspberry Pi NAS.
How to make a Raspberry Pi NAS
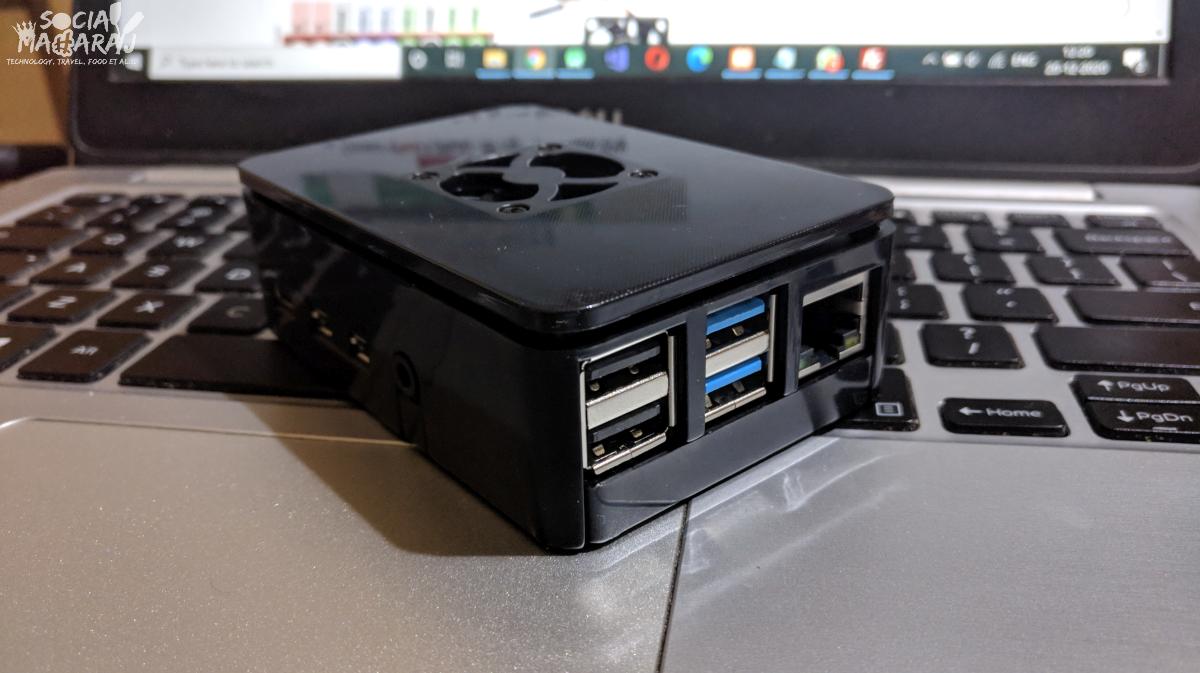
The process to make a Raspberry Pi NAS is a relatively easy one. When you get a Raspberry Pi 4 or 3, you essentially don’t get anything with it. However, if you get a Raspberry Pi 4 Kit, you will get all the important accessories with it. We need to ensure that our Raspberry Pi 4 has an OS installed. With the kit, you’ll get one pre-installed for you.
Here’s what you need to make a Raspberry Pi NAS
- Raspberry Pi 4/3B/3 – a 4GB RAM model is recommended with a Linux distribution installed
- A USB external hard disk drive – any capacity
- LAN cable
Steps to make a Raspberry Pi NAS
- Connect the USB hard disk drive to Raspberry Pi 4
- Power on the Raspberry Pi 4 and let it complete the boot-up
- Open the terminal and enter the following commands in order
#To create a share directory in the media folder
sudo mkdir /media/MyShare

#To give full access to the folder
sudo chmod -R 777 /media/MyShare/

#To mount the external hard disk to MyShare folder
sudo mount -t auto /dev/sda1 /media/MyShare
After this configuration is done, you need to set up a Samba file client. Samba is a popular file-sharing protocol available for Linux environments. Setting up Samba is quite straightforward and that will allow you to make your Raspberry Pi NAS functional.
#Install Samba File Client if not already installed
sudo apt-get install samba samba-common-bin

#Edit the Samba configuration file to allow the folder to be shared on the network
sudo nano /etc/samba/smb.conf


#Go to the end of the file and add the following lines
[share]
comment = Share
path = "/media/MyShare/"
writeable = yes
guest ok = yes
create mask = 0777
directory mask = 0777
force user = pi

#Restart Samba Service
sudo systemctl restart smbd- Your Hard disk is ready to be accessible on the network
Access your Raspberry Pi NAS on your smartphone
Irrespective of what device you have, you can access the newly created Raspberry Pi NAS share. Here’s how you can do it on any device you have.
- Note the IP address of the Raspberry Pi on your local network
- On your smartphone/device use any file manager application that supports network storage. For Android, I use Solid Explorer
- Open that app and add a new Network Storage & choose Samba.
- On the next screen enter the IP address noted in step 1.
- When prompted for Username and Password, enter the username and Pi of your Raspberry Pi 4.
- If everything is correct, you’ll be able to see your Raspberry Pi NAS hard disk on your app.
 |  |  |
Images Courtesy: guidingtech.com
With this, you can now move and modify content between your smartphone to the hard disk and vice versa. It makes your life so much easy!
Cheapest NAS using Raspberry Pi 4
This is possibly the cheapest NAS you can have. At just a fraction of the cost of a fully blown off-the-shelf NAS solution, it makes sense to make a Raspberry Pi NAS. Moreover, your Raspberry Pi 4 is a computer. This means it can do a lot more than just being a NAS. Run the software, make it a media center, a developer sandbox, or whatever you want. If you are looking for a budget-friendly and versatile NAS option, the Raspberry Pi NAS is the cheapest NAS possible.
Hope you found this tutorial helpful. In case you have any issues, please mention in the comments below, tweet to me at @Atulmaharaj, DM me on Instagram or Get In Touch.