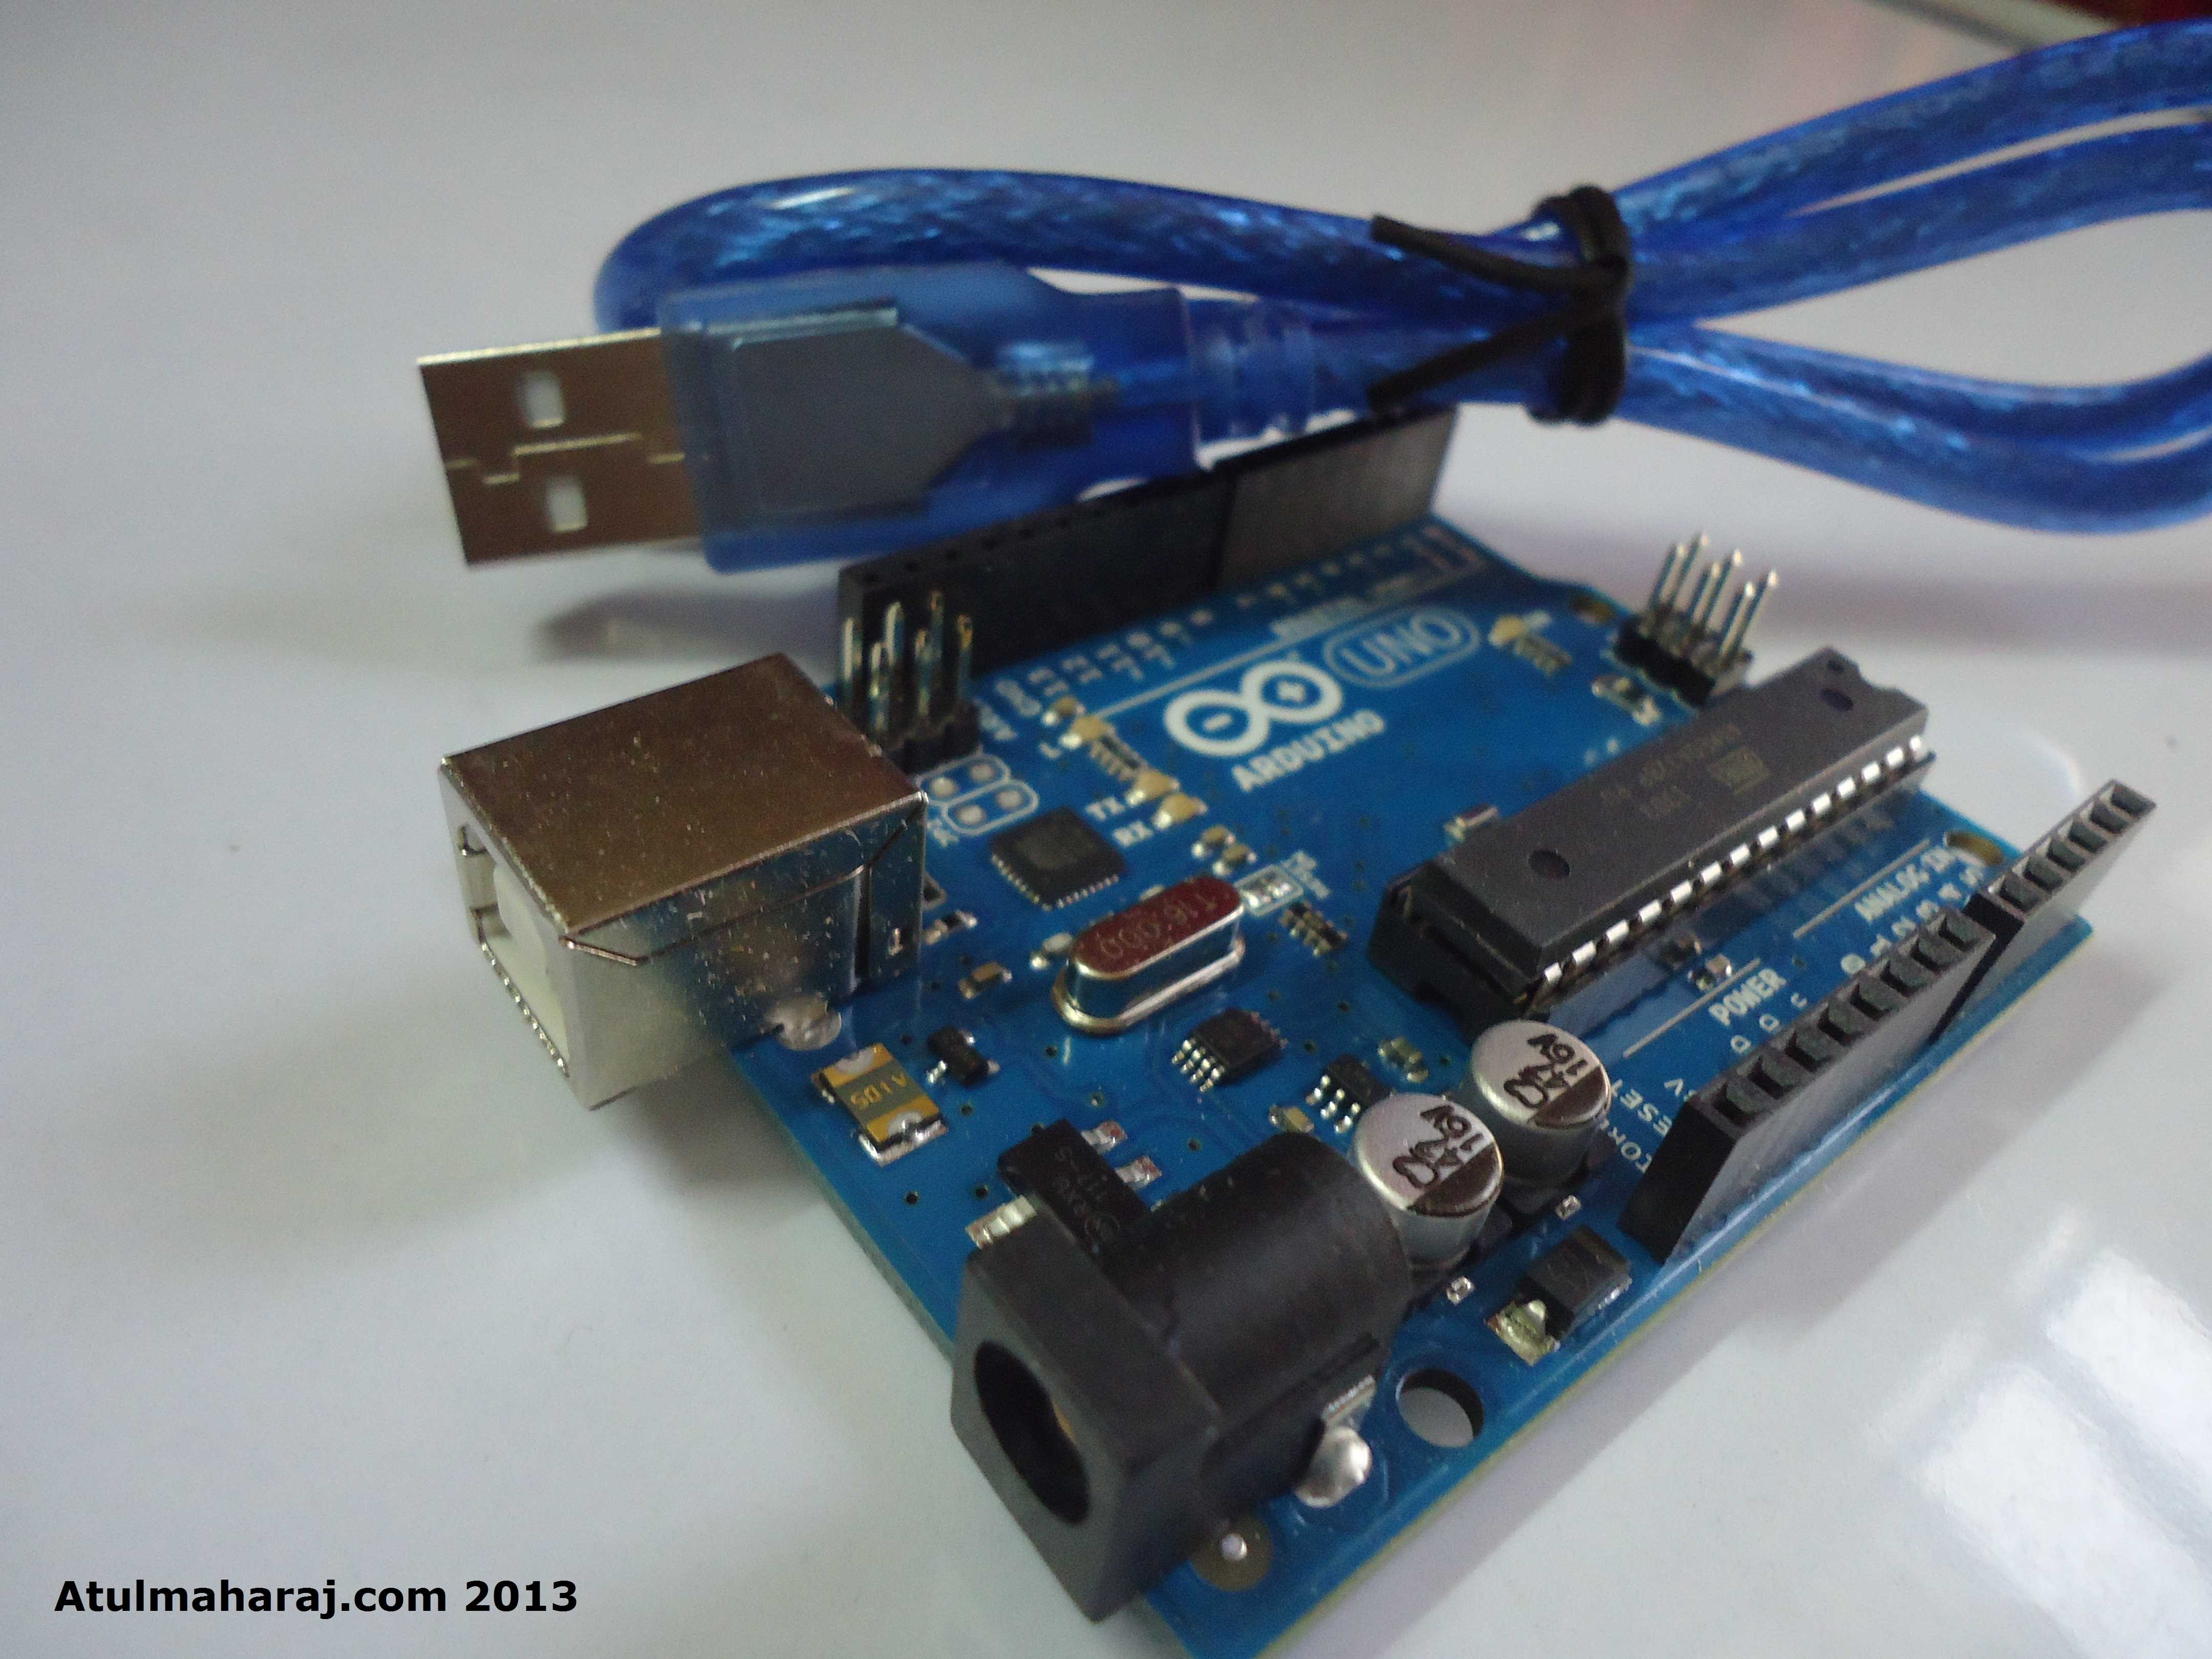
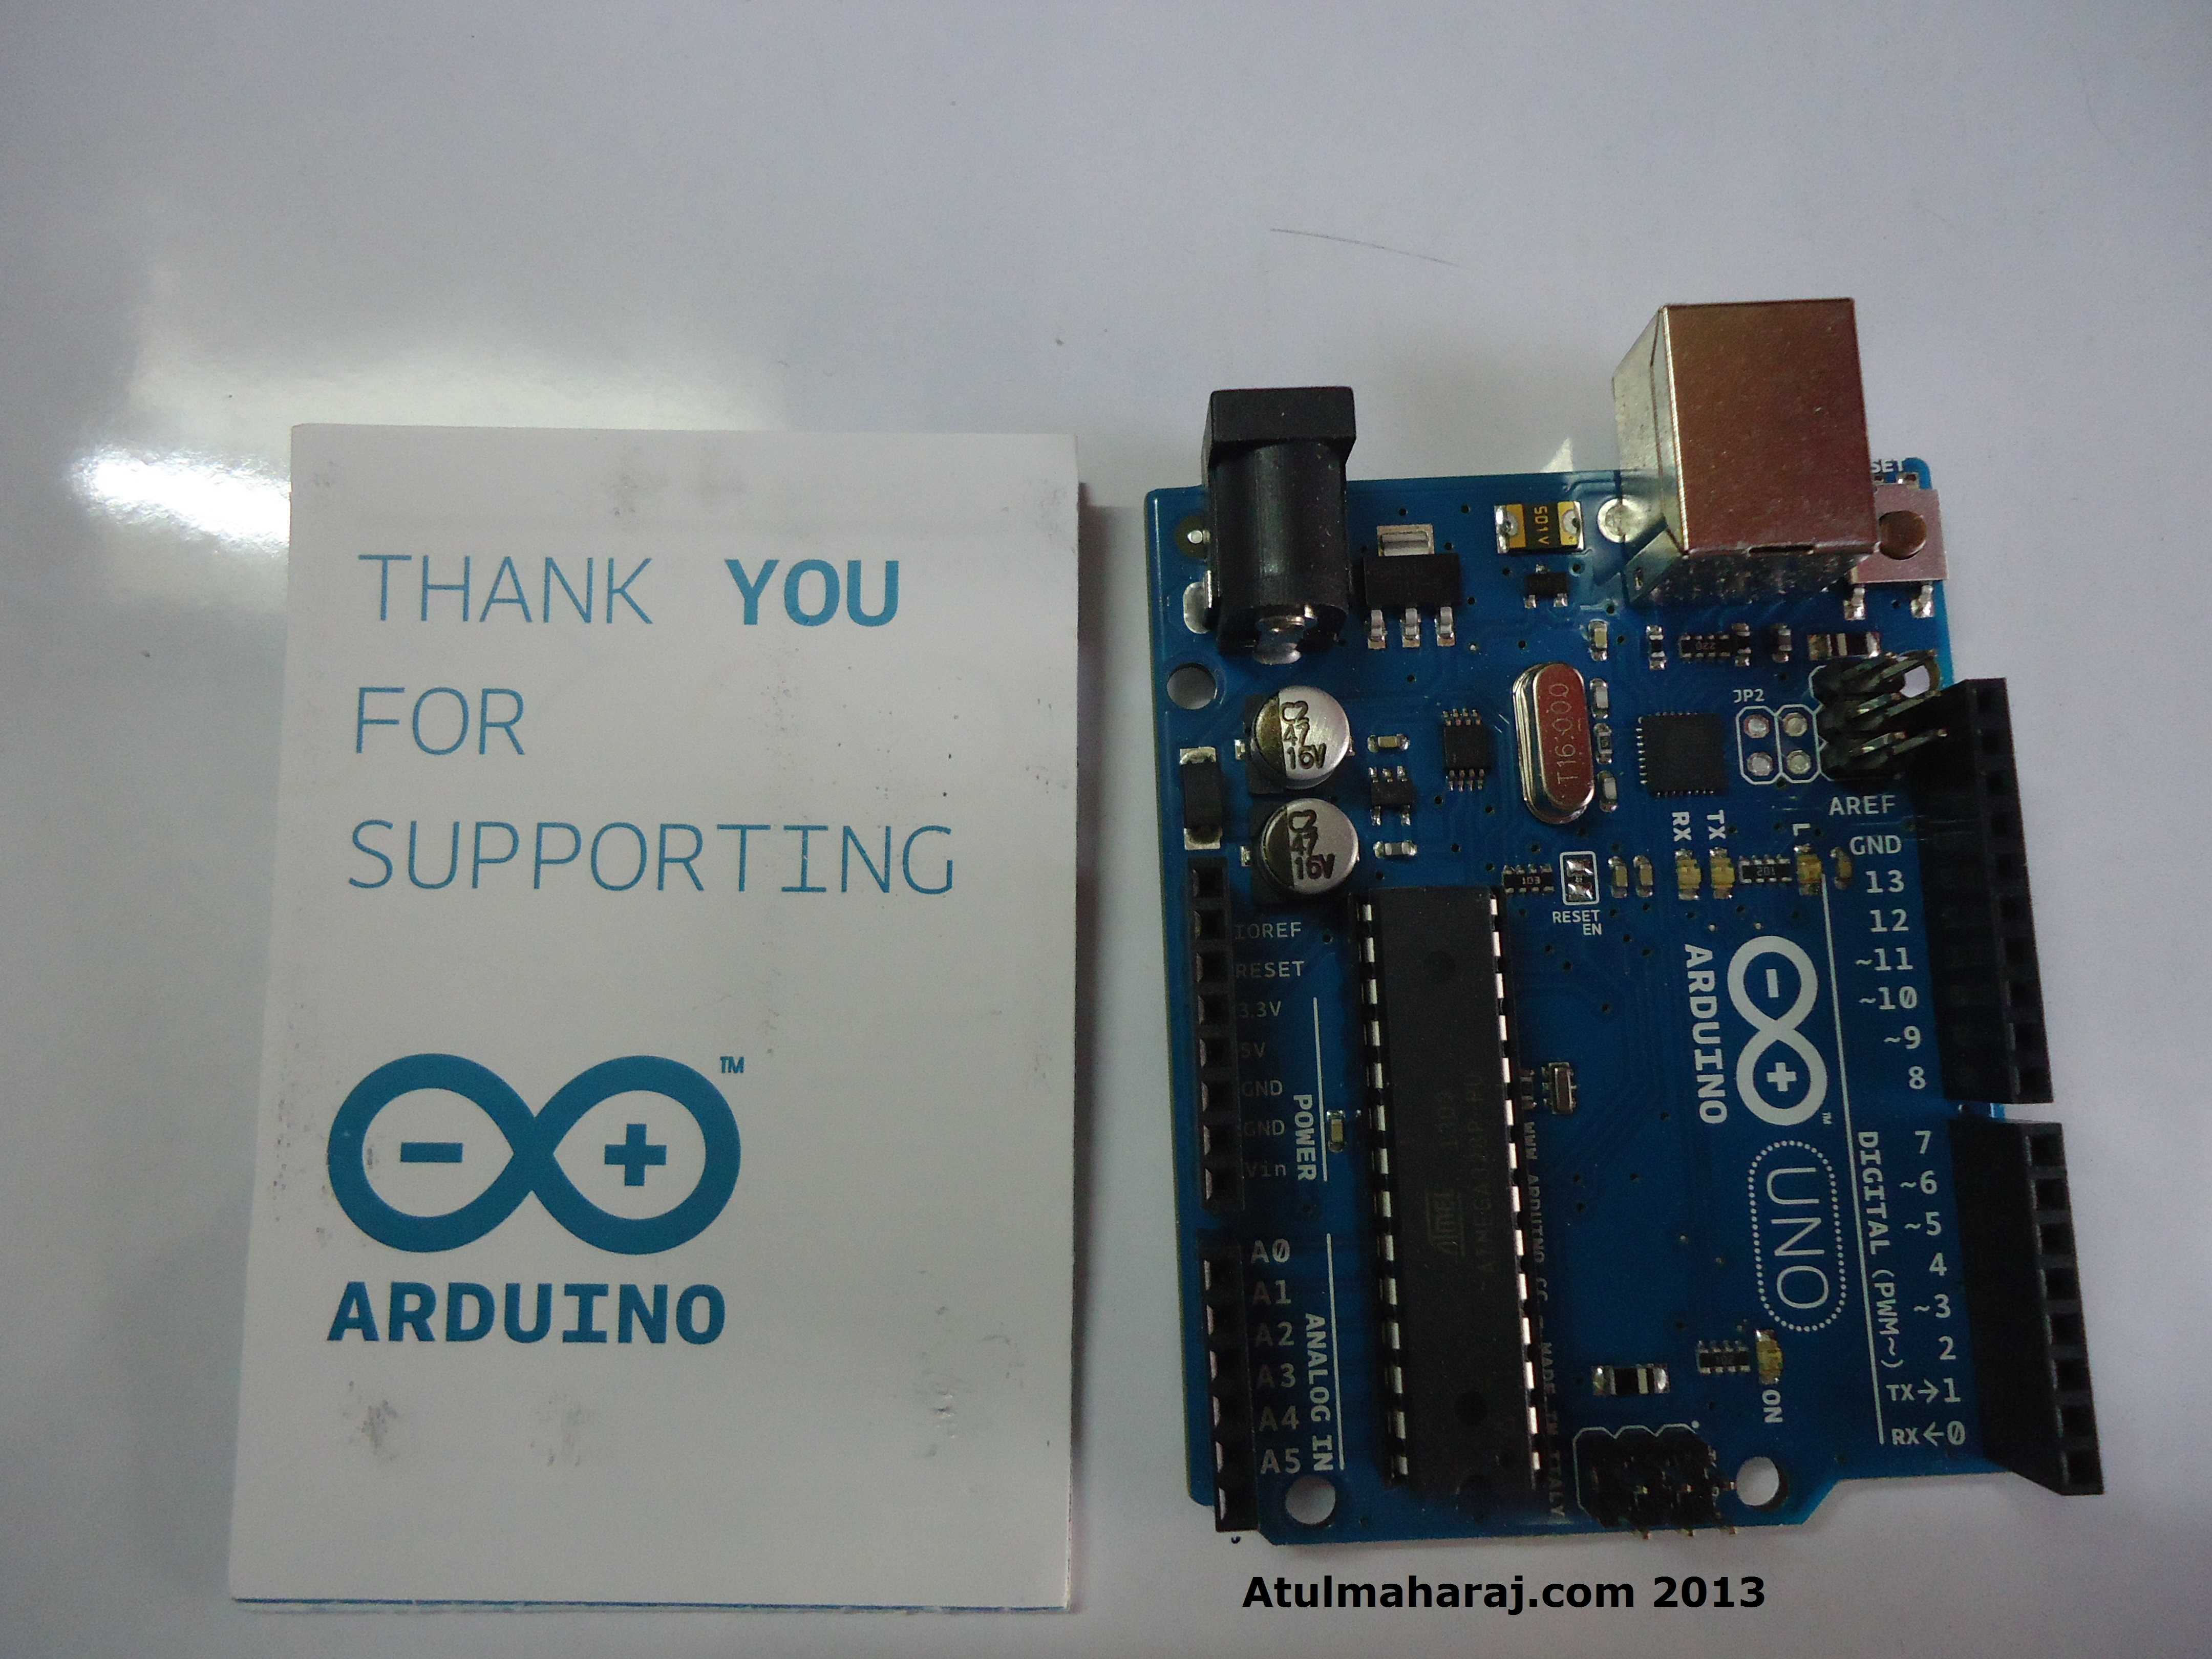
From the I had purchased the Arduino Uno, I was busy tinkering with it day in and day out. Started by simple LED ON/OFF tutorials, then moved to playing around with sensors – temperature, motion, photo resistors etc. But even then, the only thing I wanted to achieve was to be able to send and receive data from the Arduino and PC and vice versa. This took me over 4 days to understand(Mind you – haven’t understood it completely yet !!) This guide will help you to communicate with your Arduino Board using Java and RXTX library.
Initially was working on my Ubuntu machine along with the UNO. (Always prefer programming on a Linux based PC as it’s easy and things are straight forward – I think so ! :P) Things were fine until I tried serial communication. My God, the first time I did something and I remember that the TX LED was on and nothing was happening, thought it was all over, but finally managed to get over it. After fidgeting with things like “su ln /dev/ttyACM0 dev/ttyUSB0, uccp -aG dialout user, RFFile locks..” I thought to move to my Windows machine.
[adrotate banner=”5″]Few clicks here and there plus fresh installation of JDK x86 (due to a problem with RXTXserial files for x64 + Netbeans), it was all ready in less that 3 hours !! Truly amazing !! Windows doing stuff that my Ubuntu couldn’t managed to rather was too complex.
Let’s come to the real thing. A big thanks to the Arduino forum that helped me get this one.
To begin with, here’s the sketch for Arduino UNO:
[code lang=”java”] int val = 0;int led = 8;
void setup()
{
Serial.begin(9600);
pinMode(led, OUTPUT);
}
void loop()
{
delay(100);
}
void serialEvent() // To check if there is any data on the Serial line
{
while (Serial.available())
{
val = Serial.parseInt();
if(val == 1) //Switch on the LED, if the received value is 1.
{
digitalWrite(led, HIGH);
}
else if(val == 0) //Switch off the LED, if the received value is 1.
{
digitalWrite(led, LOW);
}
}
Serial.println("Succesfully received.");
}
[/code]
Once the sketch was ready, simply upload it on the UNO.
Now to the main thing – Java code alongwith RXTX Libraries.
To enable serial communication over COM ports, this library is a must. Simply download and extract it. Follow the method explained on their website. If you are using a x64 bit computer, then you might have to download the x86 JDK. I worked on Netbeans on x64 pc and had to get the 32 one. Once that was ready, right click on your projects->properties->libraries->Add folder/jar files. Copy all the files in your Arduino / lib folder and put them here. Now head to run tab. See the platform tab, add a new platform(x86 / 32 bit JDK that you recently installed) and select it.
Used the original code given on Arduino website to setup the Serial Communication. Modified it to this one :
[code language=”java” collapse=”1″]package Arduino;
/**
*
* @author Atulmaharaj
*/
import java.io.BufferedReader;
import java.io.InputStreamReader;
import java.io.OutputStream;
import gnu.io.CommPortIdentifier;
import gnu.io.SerialPort;
import gnu.io.SerialPortEvent;
import gnu.io.SerialPortEventListener;
import java.util.Enumeration;
public class SerialClass implements SerialPortEventListener {
public SerialPort serialPort;
/** The port we’re normally going to use. */
private static final String PORT_NAMES[] = {
"/dev/tty.usbserial-A9007UX1", // Mac OS X
"/dev/ttyUSB0", // Linux
"COM11", // Windows
};
public static BufferedReader input;
public static OutputStream output;
/** Milliseconds to block while waiting for port open */
public static final int TIME_OUT = 2000;
/** Default bits per second for COM port. */
public static final int DATA_RATE = 9600;
public void initialize() {
CommPortIdentifier portId = null;
Enumeration portEnum = CommPortIdentifier.getPortIdentifiers();
//First, Find an instance of serial port as set in PORT_NAMES.
while (portEnum.hasMoreElements()) {
CommPortIdentifier currPortId = (CommPortIdentifier) portEnum.nextElement();
for (String portName : PORT_NAMES) {
if (currPortId.getName().equals(portName)) {
portId = currPortId;
break;
}
}
}
if (portId == null) {
System.out.println("Could not find COM port.");
return;
}
try {
// open serial port, and use class name for the appName.
serialPort = (SerialPort) portId.open(this.getClass().getName(),
TIME_OUT);
// set port parameters
serialPort.setSerialPortParams(DATA_RATE,
SerialPort.DATABITS_8,
SerialPort.STOPBITS_1,
SerialPort.PARITY_NONE);
// open the streams
input = new BufferedReader(new InputStreamReader(serialPort.getInputStream()));
output = serialPort.getOutputStream();
char ch = 1;
output.write(ch);
// add event listeners
serialPort.addEventListener(this);
serialPort.notifyOnDataAvailable(true);
} catch (Exception e) {
System.err.println(e.toString());
}
}
public synchronized void close() {
if (serialPort != null) {
serialPort.removeEventListener();
serialPort.close();
}
}
public synchronized void serialEvent(SerialPortEvent oEvent) {
if (oEvent.getEventType() == SerialPortEvent.DATA_AVAILABLE) {
try {
String inputLine=input.readLine();
System.out.println(inputLine);
} catch (Exception e) {
System.err.println(e.toString());
}
}
}
public static synchronized void writeData(String data) {
System.out.println("Sent: " + data);
try {
output.write(data.getBytes());
} catch (Exception e) {
System.out.println("could not write to port");
}
}
public static void main(String[] args) throws Exception {
SerialClass main = new SerialClass();
main.initialize();
Thread t=new Thread() {
public void run() {
//the following line will keep this app alive for 1000 seconds,
//waiting for events to occur and responding to them (printing incoming messages to console).
try {Thread.sleep(1500);
writeData("2");} catch (InterruptedException ie) {}
}
};
t.start();
System.out.println("Started");
}
}
Used this code and created another class that inherited this one and made the program:
[code language=”java” collapse=”1″]import java.io.BufferedReader;
import java.io.InputStreamReader;
import java.io.OutputStream;
import gnu.io.CommPortIdentifier;
import gnu.io.SerialPort;
import gnu.io.SerialPortEvent;
import gnu.io.SerialPortEventListener;
import java.util.Enumeration;
import Arduino.SerialClass;
import Arduino.SerialClass;
import java.io.IOException;
public class TestClass
{
public static BufferedReader input;
public static OutputStream output;
public static synchronized void writeData(String data) {
System.out.println("Sent: " + data);
try {
output.write(data.getBytes());
} catch (Exception e) {
System.out.println("could not write to port");
}
}
public static void main(String[] ag)
{
try
{
SerialClass obj = new SerialClass();
int c=0;
obj.initialize();
input = SerialClass.input;
output = SerialClass.output;
InputStreamReader Ir = new InputStreamReader(System.in);
BufferedReader Br = new BufferedReader(Ir);
while (c!=3)
{
System.out.println("LED ON / OFF MENU.");
System.out.println("1.LED ON");
System.out.println("2.LED OFF");
System.out.print("Enter your choice :");
c = Integer.parseInt(Br.readLine());
switch(c)
{
case 1:
writeData("1");
break;
case 2:
writeData("0");
break;
case 3:
System.exit(0);
}
}
String inputLine=input.readLine();
System.out.println(inputLine);
obj.close();
}
catch(Exception e){}
}
}
So after some tiring sessions, the output is amazing ! (Might be simple for many, but making this happen wasn’t an easy task – atleast for me !) This has certainly opened doors for further creativity. I guess, the decision to get the Arduino was a perfect one !!
 SocialMaharaj Technology, Travel, Food et al


i really need your help anyway we can email each other???
[email protected]
Hi Marlon, thanks for writing in. I’m sorry but I can’t help you out as this was something I did 5 years back and not working on this currently.
Thank you…!!!
It’s been quite some time (few years) since I worked on this. I’m glad this helped you 🙂
Thank you! Great Work
RXTX is no longer prefered. The scm is an alternative library to rxtx/javaxcomm for serial port communication.
Wiki : http://www.embeddedunveiled.com/
Repository : https://github.com/RishiGupta12/serial-communication-manager
Video : https://www.youtube.com/watch?v=fYLQbelGunQ
Thanks a lot Victor for the update. Someone also commented on a video I posted on YouTube. This was something I did during my summer holidays long back, and this was the only option then. It worked for me so thought to make it easier for others too 🙂 as for the new library, I haven’t used it yet. But again thanks 🙂 have a good time 🙂